Vegan Superfood Millennia Tea Key Lime Pie
By Blogger and Foodie Bailey Campbell
This Superfood Vegan Key Lime Pie Recipe is vegan and made with only 9 ingredients, but tastes just like a traditional key lime pie with the same creamy texture and delicious flavours! It is a perfect healthy alternative, and is the perfect dessert for gatherings to really WOW your guests!

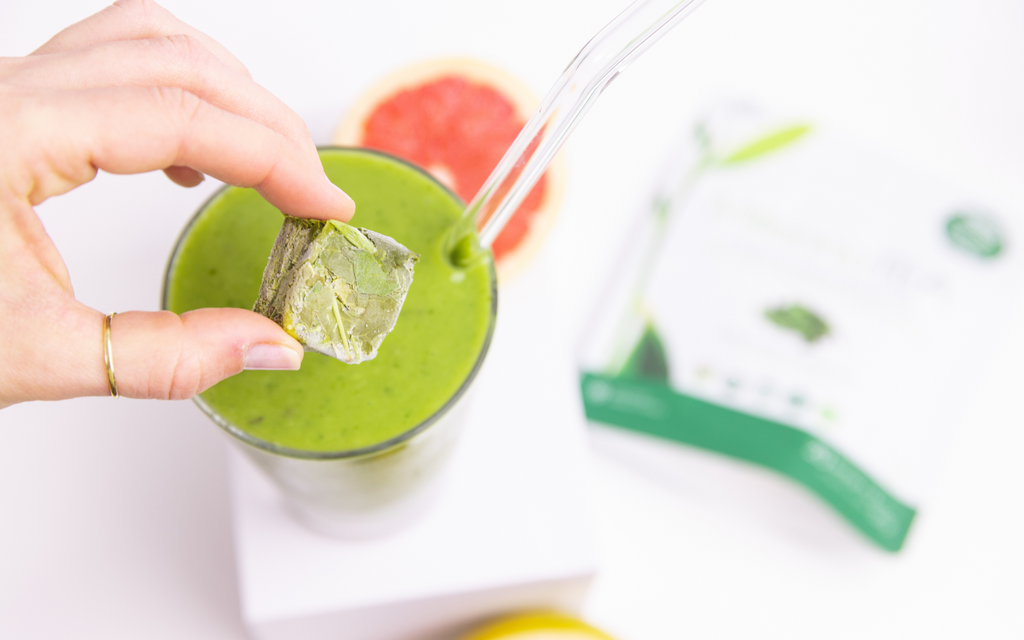
Key Lime Pie is traditionally made with Eggs and Condensed Milk. Instead, to make this plant based, I used a combination of full fat coconut milk, cashews, and maple syrup to thicken and sweeten our Vegan Key Lime Pie! I also added a sneaky secret ingredient, Millennia Tea Superfood Cubes, to boost antioxidants and support gut health! I was so happy with the texture of this plant-based version – it holds it’s shape perfectly when cut! The the best part, when your pie crust is finished everything is raw and no bake, so you don’t have to worry about heating up your house in the summer time!

The crust is made with TWO ingredients, and the filling is all made in a blender! This is a very simple recipe to follow, and looks VERY sophisticated to blow your guests minds! My ONLY issue with key lime pie is actually finding the key limes!! I looked everywhere in Kelowna and couldn’t find them for the life of me! So I subbed regular limes in this recipe as they are much easier to get, and adjusted the recipe flavours! Key limes are slightly sweeter than regular limes, so I had to use a bit more maple syrup to compensate for that!
The only real pre-prep you have to do is soak cashews for 4 hours or overnight. If you forget to soak them overnight and don’t have time to wait, you can boil the cashews for 20-30 mins and it will ALMOST yield the same results! The rest takes place in the food processor and blender, starting with the crust.
Not only is this recipe vegan, but it’s also gluten free, refined sugar free, and SO FLIPPING GOOD!

Ingredients For This Easy Vegan Key Lime Pie
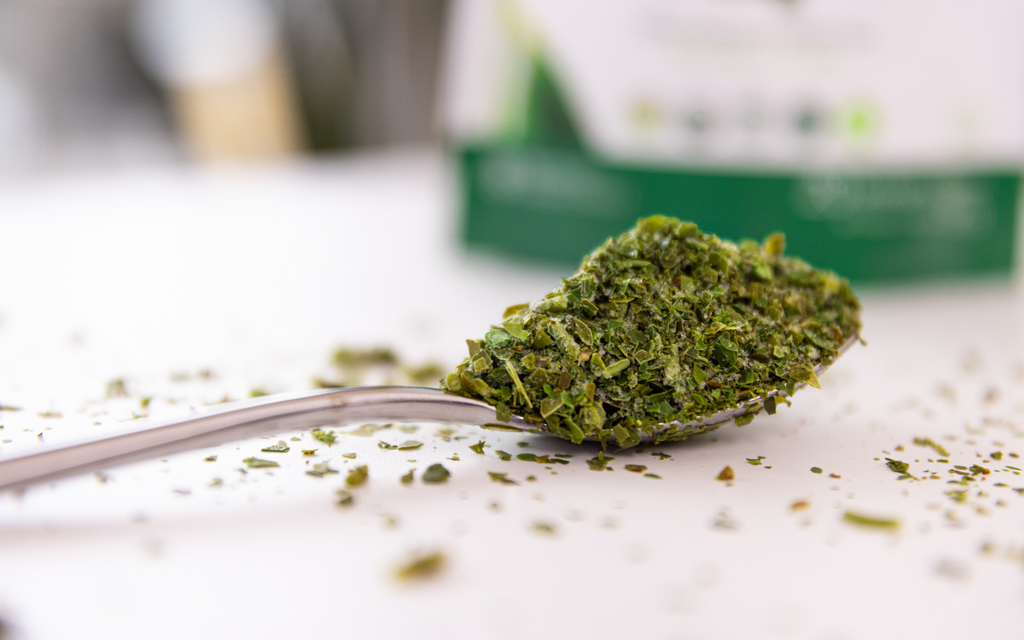
- Millennia Tea Superfood Cubes
- Gluten free graham crackers
- Vegan butter
- Raw cashews
- Full fat coconut milk
- Coconut oil
- Key limes or regular limes
- Maple syrup or honey
- Vanilla extract

How To Make This Healthy Key Lime Pie
- Preheat oven to 350F and prepare a pie pan.
FOR THE CRUST: Using a food processor, blend graham crackers till they are very fine. Then add melted vegan butter and pulse to combine.Distribute evenly in pie pan and press down with the bottom of a glass to flatten. Poke holes in crust with a fork to release air so the crust doesn’t bubble. Bake for 10 minutes or until golden brown. Remove from oven and immediately press down with the bottom of a glass again to flatten crust. Set aside to cool.
FOR THE FILLING: Add all filling ingredients to a blender and blend on low for 20 seconds, then on high until everything is super creamy. Taste and adjust flavour as needed. If you like a more sweet pie, add more maple syrup. If you prefer it slightly more tart, add more lime juice.
Pour filling into prepared pie pan once completely cooled and tap on counter to release air bubbles. Then put in freezer to set.
Freeze for 3-4 hours or until the pie has set. Thaw pie before serving by removing from freezer for approximately 15 minutes. I keep this pie in the freezer and it usually lasts me about 2 weeks!
Notes To Ensure It Is The Best Vegan Pie Ever
- I used regular limes in this recipe, as they are way more accessible to everyone. Key limes are slightly sweeter than regular limes, so if you do use them, you may want to adjust the maple syrup a bit! Just avoid the bottled stuff as the fresh juice takes this pie to a whole other level.
- You can boil the cashews for 20-30 minutes if you forget to soak the cashews overnight (I’m guilty of this much too often).
- A high powdered blender here is KEY to get the filling nice and creamy! I let my blender to it’s thing on high for 1-2 minutes to ensure everything is super smooth (because who wants a chunky key lime pie)?!
- When preparing the crust, press down with the bottom of a glass to flatten. Before putting in the oven, poke holes in crust with a fork to release air so the crust doesn’t bubble. After baking, immediately press down with the bottom of a glass again to flatten crust.
Other Vegan Sweet Treats You May Want To Try!
- FOR THE CRUST
- 2 cups graham cracker crumbs GF if you're intolerant to gluten*
- 9 tbsp vegan butter melted
- FOR THE FILLING
- 2 cubes Millennia Tea Superfood Tea
- 1 cup raw cashews soaked for 4-6 hours (or overnight) then drained. If you forgot to soak them overnight and don't have time to wait you can boil the cashews for 10-20 mins!
- 3/4 cup full-fat coconut milk well shaken!
- 1/4 cup coconut oil melted
- 3-4 large limes or 6-7 key limes OR 1 Tbsp zest, 1/2 cup juice
- 1/3 - 1/2 cup agave nectar or maple syrup depending on preferred sweetness. you can also sub honey if not vegan
- 1 tsp vanilla extract
-
Preheat oven to 350F.
-
FOR THE CRUST: Using a food processor, blend graham crackers till they are very fine. Then add melted vegan butter and pulse to combine.
-
Distribute evenly in pie pan and press down with the bottom of a glass to flatten. Poke holes in crust with a fork to release air so the crust doesn't bubble. Bake for 10 minutes or until golden brown. Remove from oven and immediately press down with the bottom of a glass again to flatten crust. Set aside to cool.
-
FOR THE FILLING: Add all filling ingredients to a blender and blend on low for 20 seconds, then on high until everything is super creamy. Taste and adjust flavour as needed. If you like a more sweet pie, add more maple syrup. If you prefer it slightly more tart, add more lime juice.
-
Pour filling into prepared pie pan once completely cooled and tap on counter to release air bubbles. Then put in freezer to set.
-
Freeze for 3-4 hours or until the pie has set. Thaw pie before serving by removing from freezer for approximately 15 minutes. I keep this pie in the freezer and it usually lasts me about 2 weeks!
I LOOK FORWARD TO SEEING YOUR CREATIONS! YOU CAN PIN THIS RECIPE ON PINTEREST OR SHARE ON INSTAGRAM BY TAGGING @basicswithbails and #basicswithbails
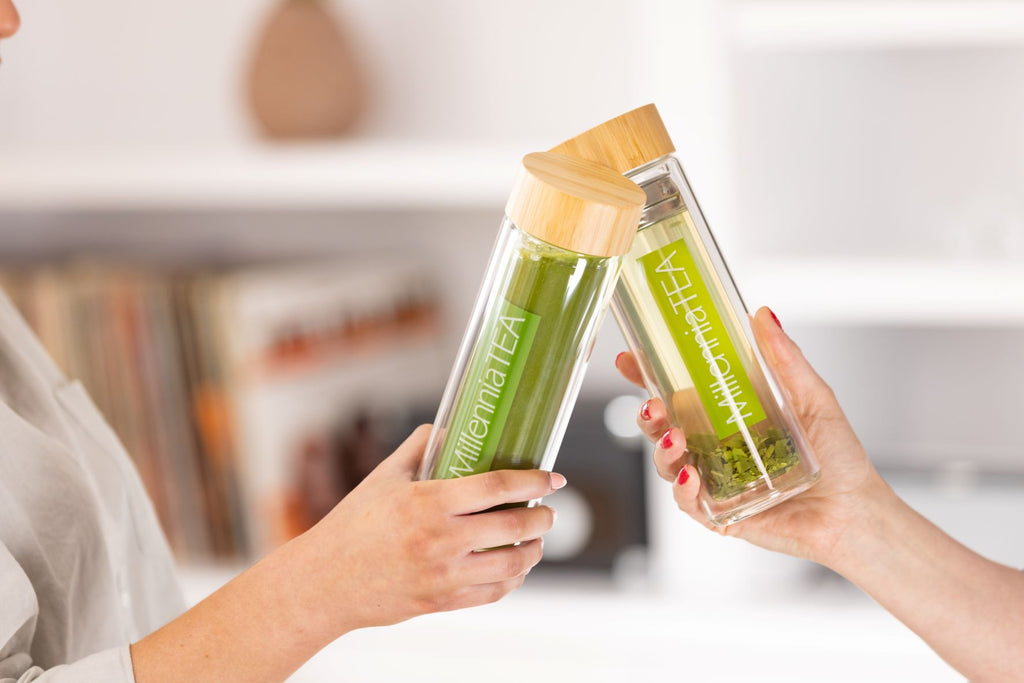
This post is sponsored by Millenia Tea. Thank you for continuing to support the brands who help make Basics With Bails possible!